
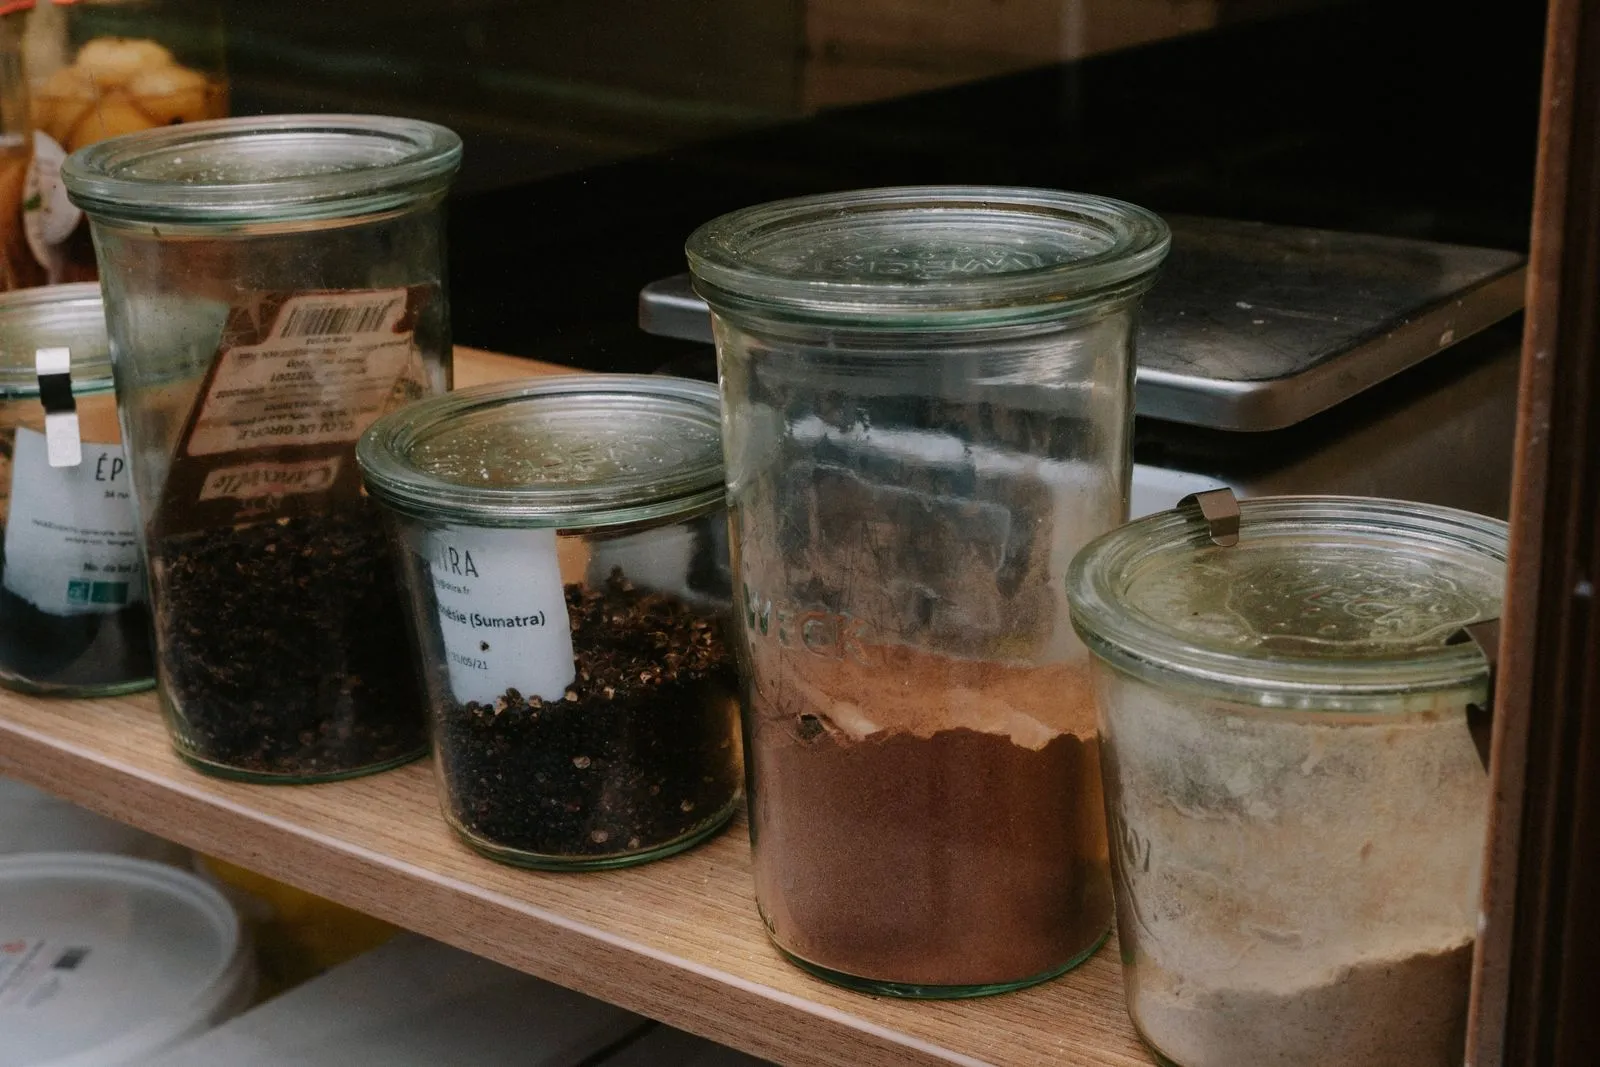
You can ferment vegetables without a specialized kit, but a few well-chosen supplies make it easier to keep ingredients submerged and monitor progress. Start with a clean, food-safe vessel, then consider how you’ll hold vegetables beneath the brine and manage gas as fermentation begins. Your batch size, available storage, and preferred vegetables all affect what you need. Here’s a practical guide to the basic equipment—and what you can skip when you’re getting started.
Choose a Suitable Vessel
A glass canning jar is a straightforward choice for small batches. It lets you see the vegetables and brine, is easy to clean, and comes in several useful sizes. Leave headspace at the top so bubbling brine has room to move. Use jars intended for food storage, and check for chips or cracks before filling them.
For larger batches, consider a food-grade ceramic crock or a wide-mouth food-safe container. Avoid vessels made from reactive metals such as aluminum or copper, which can interact with acidic brine. If you use ceramic, confirm that its glaze is food-safe and intact. Pick a size that fits the batch without leaving excessive empty space.
Keep Vegetables Submerged
A fermentation weight holds vegetables below the brine, where they are less exposed to air. Glass weights made for wide-mouth jars are easy to handle, while food-safe ceramic weights suit crocks. You can also use a clean, food-safe alternative that fits the vessel and stays in place. Wash any weight thoroughly before use.
Check that the weight presses down the larger pieces without blocking the opening or making removal difficult. Keep enough brine above the vegetables to cover them, and follow a tested recipe for the right salt and liquid proportions. If pieces float back up, reposition the weight with clean hands or utensils rather than leaving exposed vegetables at the surface.
Pick a Lid and Manage Gas
A regular jar lid can work, but active fermentation produces gas that may build pressure in a tightly closed container. With a standard lid, follow your recipe’s directions for releasing pressure, often called burping. Handle the jar carefully, and avoid opening it more often than the method requires.
Airlock lids let gas escape while limiting fresh air entering the vessel. They can make the process more hands-off, but they still need to fit the jar securely and be kept clean. A cloth cover is not a reliable substitute for a fitted lid or airlock when a recipe calls for controlled fermentation. Choose a setup you can maintain consistently.
Gather Simple Helpful Tools
A kitchen scale helps you measure vegetables and salt accurately when your recipe uses weight. A clean cutting board and sharp knife make it easier to prepare evenly sized pieces, which can ferment at a more consistent pace. Use nonreactive bowls and utensils, and clean equipment well before starting.
Keep a small funnel nearby for adding brine to narrow jar openings, plus a tray to catch overflow as fermentation gets active. Label each vessel with the vegetable and start date so you can track batches. Bull City Preserving can help Durham home cooks compare vessel styles and fermentation accessories; bring your recipe and preferred batch size when choosing supplies.
A dependable fermentation setup can be simple: a food-safe vessel, a way to keep vegetables under brine, and a lid suited to your method. Add measuring and preparation tools that make your recipe easier to follow. Start with one manageable batch, use a tested recipe, and choose supplies that fit your kitchen and routine.