
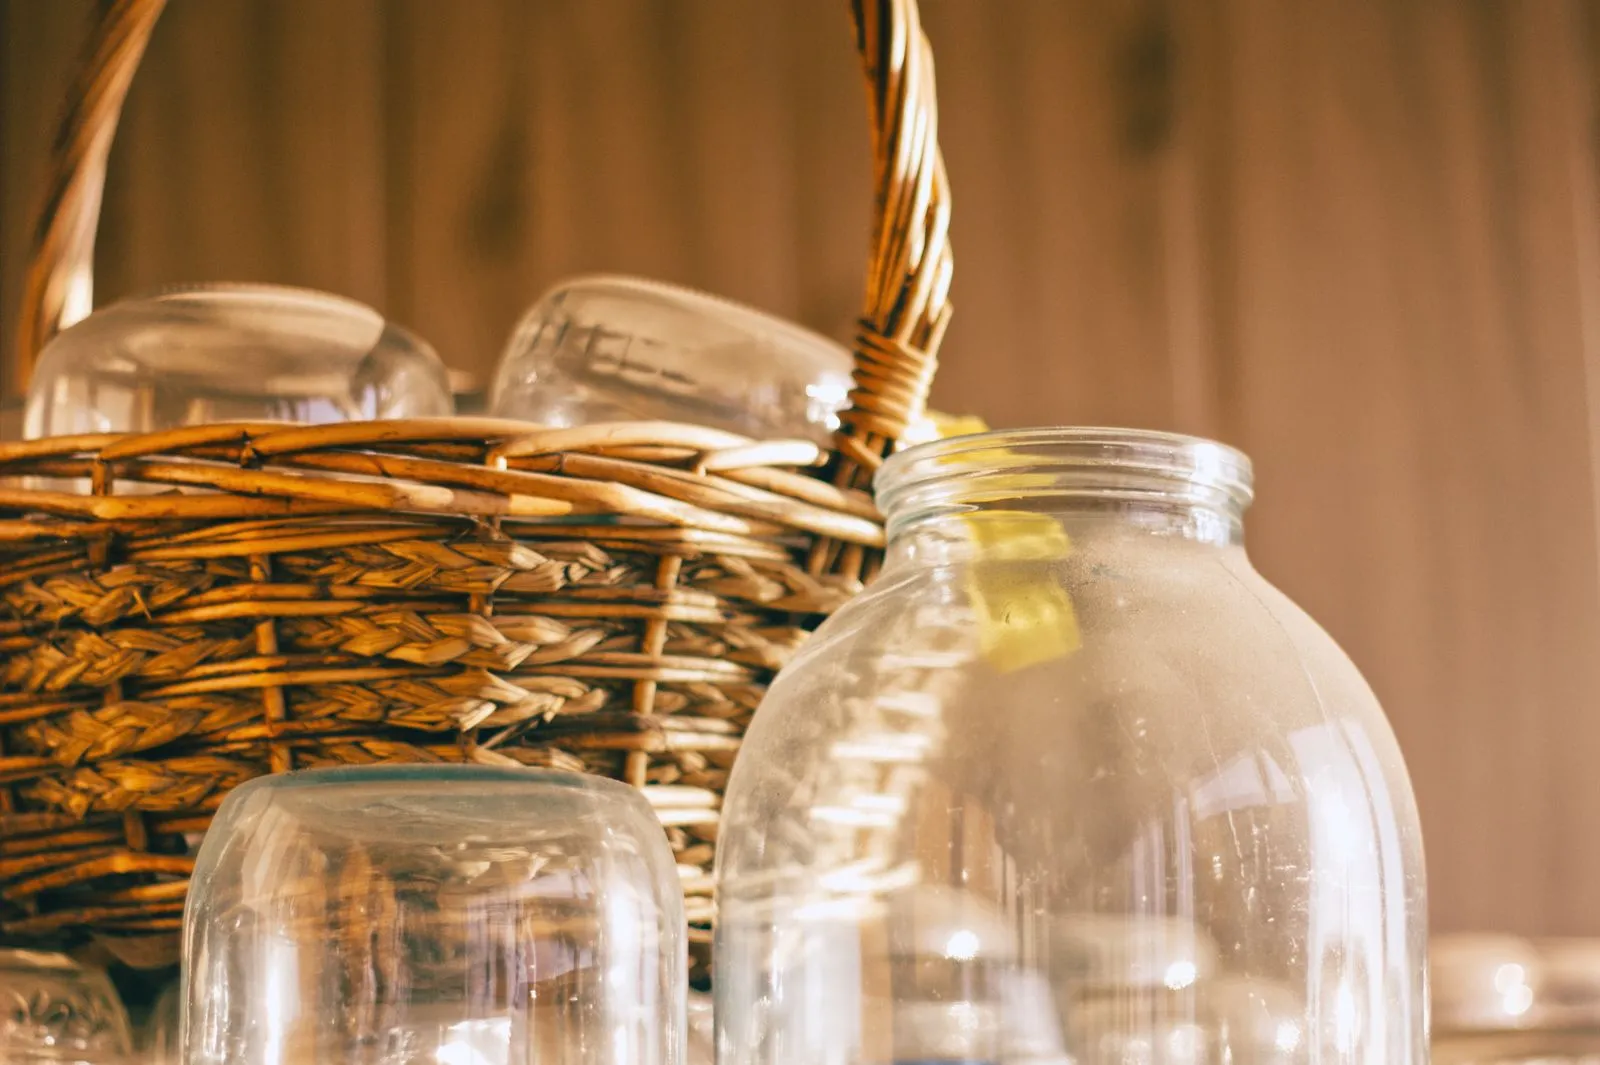
Home canning can help you preserve seasonal produce, but safe results depend on the right equipment and a tested recipe. You don’t need a large collection of specialized tools to begin. Start with sound jars, compatible lids, basic handling tools, and a canner suited to the food and method. Before heating anything, plan your workspace and read the full recipe. These steps make a first batch easier to manage and help protect the food you put away.
Choose a Safe Canning Method
Use a boiling-water canner for tested recipes designed for high-acid foods, such as most fruits, jams, jellies, pickles, and properly acidified tomatoes. Low-acid foods—including vegetables, meat, poultry, and seafood—require pressure canning with a pressure canner. A boiling-water canner cannot safely process low-acid foods. Follow a current, tested recipe from a trusted food-preservation authority, and don’t change ingredient proportions, jar size, or processing time.
A pressure canner is not the same as a small pressure cooker. Use equipment intended for pressure canning, and check its manual for operation and maintenance. For boiling-water canning, use a deep pot with a rack that keeps jars off the bottom and allows water to cover them by the amount specified in the recipe. If you are unsure which method applies, check the recipe before preparing the food.
Gather Jars and Lids
Choose jars made for home canning in the size specified by your recipe. Inspect each jar for cracks, chips, or damaged rims; discard any that are not in good condition. Wash reusable jars in hot, soapy water and rinse well. Follow the recipe and jar manufacturer’s directions about preheating jars and whether sterilizing is needed. Do not use ordinary food jars from the grocery store for home canning.
Use new, compatible flat lids for each batch, along with screw bands that are clean and free of rust or damage. Flat lids are generally not reusable for canning unless the product instructions specifically say otherwise. Check the manufacturer’s directions for preparing lids; some modern lids should not be boiled. Tighten bands as directed by the recipe, usually fingertip-tight, rather than forcing them down.
Keep Essential Tools Handy
A jar lifter helps you move hot jars without grabbing them by the neck or tilting them. A wide-mouth funnel reduces spills while filling, and a bubble remover or nonmetallic spatula helps release trapped air when the recipe calls for it. Keep clean towels nearby, plus a timer and an accurate way to measure ingredients. A lid wand can be convenient, but it is optional if you can handle lids safely.
For pressure canning, inspect the canner’s gasket, vent, and pressure gauge as directed by its manufacturer. Have the gauge checked according to the manufacturer’s instructions if your model uses a dial gauge. For boiling-water canning, make sure the pot is deep enough for the jars and boiling water. Keep the recipe visible, and arrange tools so you can work without rushing while jars are hot.
Prepare Food and Your Workspace
Wash your hands, clean counters and tools, and use fresh, sound produce. Follow the recipe for washing, peeling, cutting, packing, and adding liquid. Measure ingredients accurately; salt, sugar, and vinegar can affect the recipe’s flavor or preservation process, so don’t reduce or replace them unless tested guidance allows it. Keep raw food separate from clean jars and lids, and avoid letting jar rims touch food or oily surfaces.
Fill jars to the recipe’s stated headspace, remove air bubbles if instructed, and wipe each rim with a clean damp cloth before applying the lid. Process jars for the full time and pressure specified, adjusting for altitude when the recipe requires it. After processing, let jars cool undisturbed for the recommended period. Check seals, label sealed jars with contents and date, and refrigerate any jar that did not seal.
Start with one tested recipe, gather only the tools it calls for, and follow its method, headspace, processing instructions, and altitude adjustments exactly. Safe canning is a sequence of small, careful steps—not guesswork. Bull City Preserving can help you find the supplies for your first batch; bring your recipe along when you shop.